🏗️ MOTOR TRIAL LEVEL EDITOR — COMPLETE GUIDE
Welcome, rider! This guide explains the full workflow: creating a track, editing points, saving drafts, testing your level and publishing it to the Community Workshop.
🎮 1. OPEN THE EDITOR
• From the Main Menu, select LEVEL EDITOR.
• You can also press E while you are in the Main Menu.
• Choose one of the 5 draft slots before starting. Each slot can hold a separate track.
• Use an empty slot for a new project, or load an existing draft to continue working.
🛣️ 2. BUILD AND SHAPE THE ROAD
• Left Click on empty space — add a new track point.
• Left Click + Drag a point — move it and reshape the road.
• Draw Mode — hold Left Mouse and draw the road from left to right.
• Right Click a point — delete that point.
• Build the track from left to right so the start, checkpoints and finish are ordered correctly.
🎥 3. MOVE THE EDITOR CAMERA
• Mouse Wheel — move the camera left or right along the track.
• Shift + Mouse Wheel — zoom in or out.
• Middle Mouse Drag — freely pan the camera.
• Camera toolbar: LEFT, RIGHT, ZOOM +, ZOOM - and RESET.
⌨️ 4. KEYBOARD SHORTCUTS
• A / D or Left / Right Arrow — select the previous or next point.
• W / S — move the selected point up or down.
• Q / E — move the selected point left or right.
• N — insert a new point after the selected point.
• C — toggle a checkpoint on the selected point.
• F — move the finish marker to the selected point.
• V — save the current map.
• SPACE — immediately test the current map.
• E during a test ride — return to the editor without losing the map.
• M — close the editor.
🧰 5. TOOLBAR OVERVIEW
CAMERA
• LEFT / RIGHT — move along the track.
• ZOOM + / ZOOM - — change zoom.
• RESET — restore the camera view.
POINTS
• DENSE / NORMAL — change point spacing.
• CLOSER / WIDER — adjust the selected area.
• SPLIT — insert additional geometry.
• FLAT / STRAIGHTEN — clean up a road section.
• SMOOTH PATCH / SMOOTH ARC — soften sharp or uneven areas.
MARKERS
• START — place the start near Point 1.
• CHECKPOINT — add or remove a checkpoint.
• FINISH — place the finish on the final point.
• DELETE — remove the selected point.
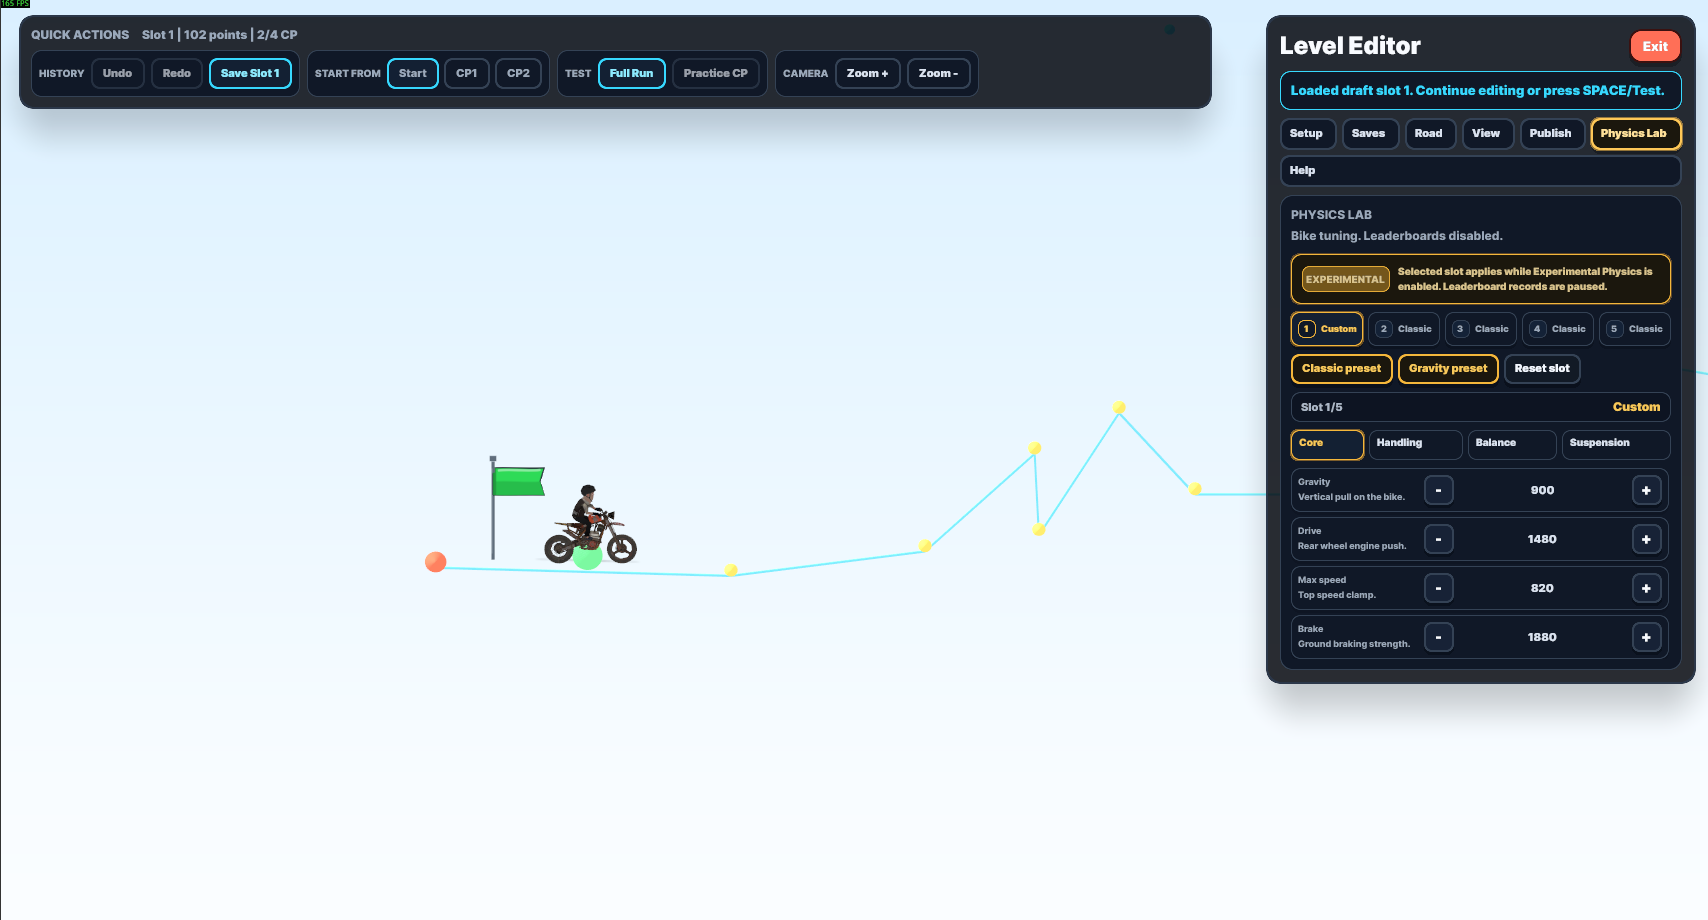
DRAFTS
• Select one of 5 slots.
• SAVE stores your current work in the selected slot.
• LOAD opens the selected draft.
• CREATE EMPTY starts a new track in that slot.
• CLEAR removes the selected draft, so check the slot before confirming.
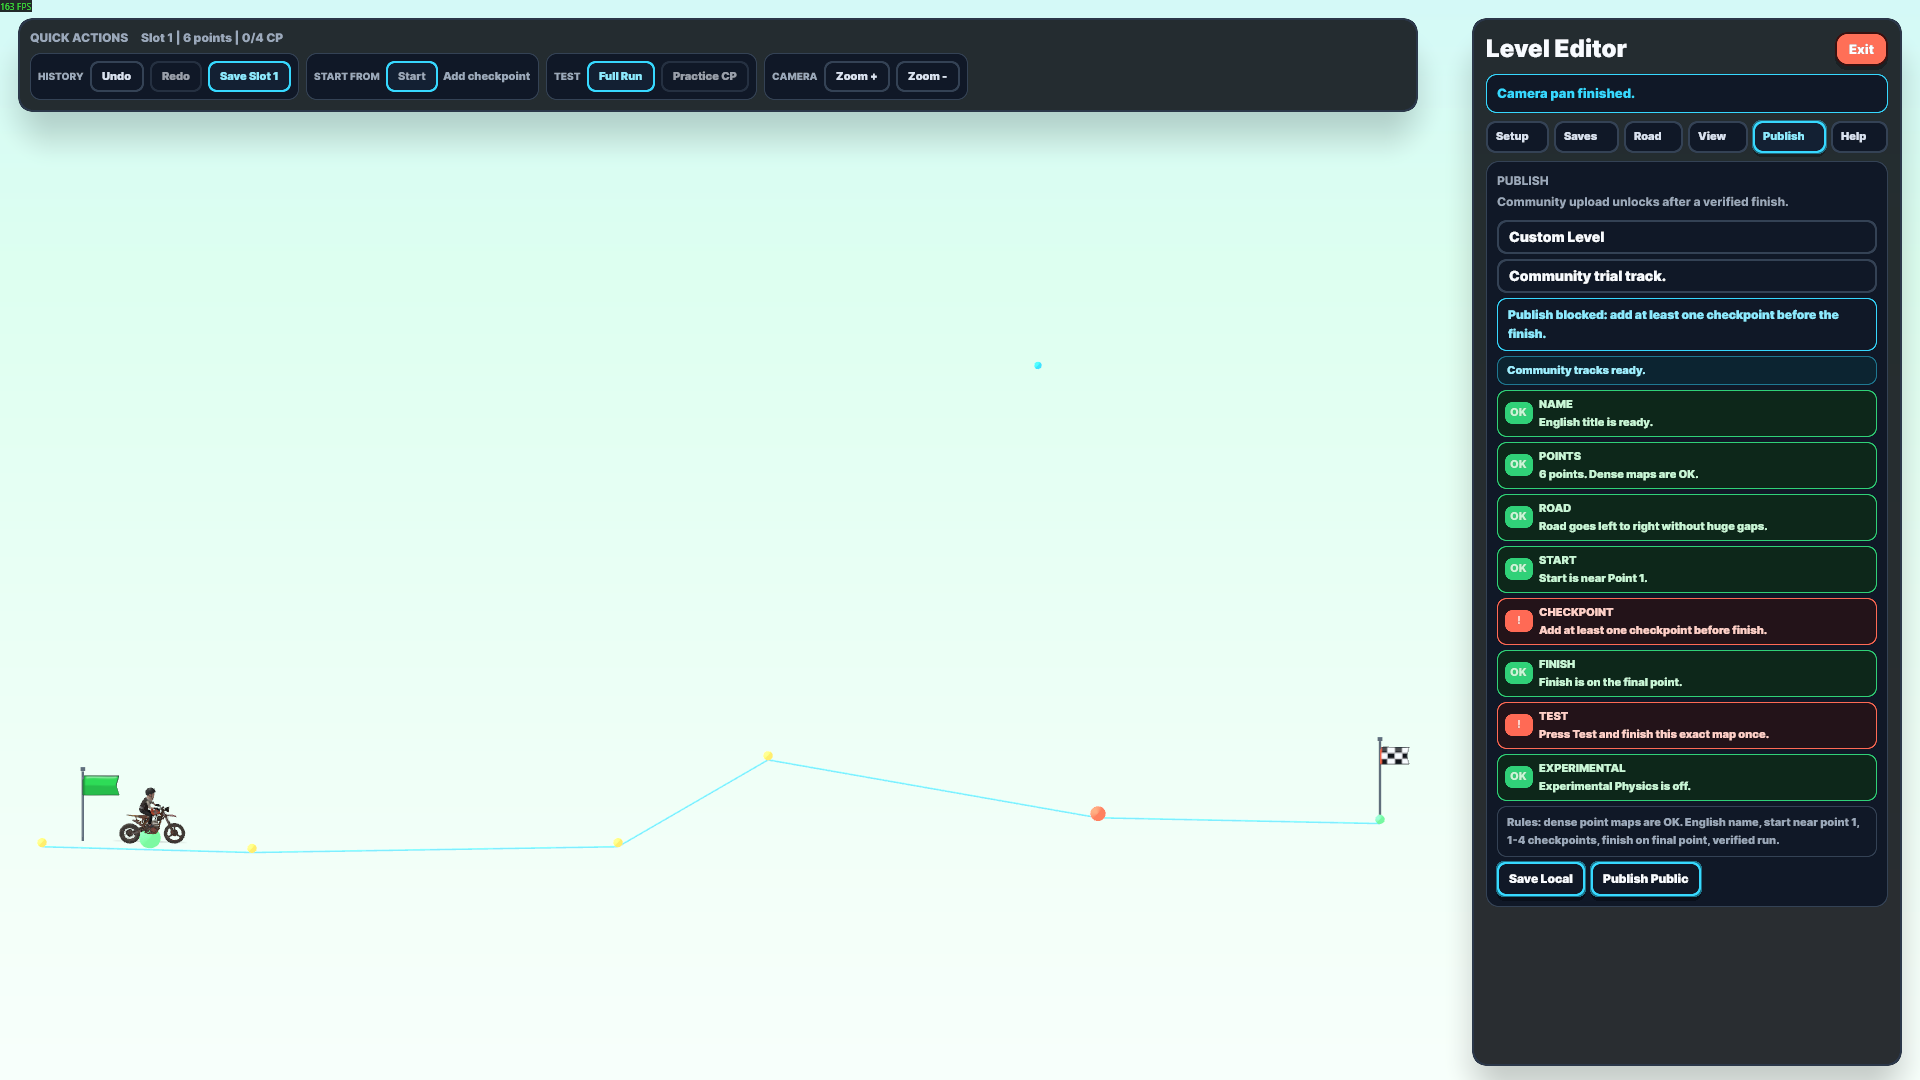
PUBLISH
• PREPARE — fixes common setup problems.
• AUTO CP — automatically places checkpoints.
• TEST — starts a verification ride.
• PUBLISH — opens the Workshop publishing process when every requirement is complete.
✅ 6. CREATE A VALID TRACK
Before publishing, check all of these rules:
• Use an English track name.
• Dense point maps are allowed.
• Place START near Point 1.
• Use between 1 and 4 checkpoints.
• Put every checkpoint before the finish.
• Place FINISH on the final point.
• Make sure the road can be completed from start to finish.
• Avoid impossible jumps, hidden gaps and markers placed far away from the road.
💾 7. SAVE AND TEST SAFELY
1. Select the correct draft slot.
2. Press SAVE or V regularly.
3. Press TEST or SPACE.
4. Complete the entire track and reach the finish.
5. Press E or BACK TO EDITOR to continue editing.
6. If you change the track after a successful test, test and finish the updated version again before publishing.
A verification ride proves that the exact version you are publishing can be completed.
🌍 8. PUBLISH TO THE COMMUNITY WORKSHOP
1. Enter an English title and a short description.
2. Press PREPARE to fix common marker and setup issues.
3. Add checkpoints manually or use AUTO CP.
4. Press TEST and finish this exact version once.
5. Make sure every publish checklist row is marked as complete.
6. Press PUBLISH PUBLIC.
7. Confirm OPEN WORKSHOP.
8. Accept the Steam Workshop publishing dialog.
9. Wait until the upload receives a Workshop ID.
10. Make sure the Workshop item's visibility is set to PUBLIC.
11. Open Community in Motor Trial and press REFRESH WORKSHOP. You can also use LOAD ID if you know the Workshop ID.
⚠️ IMPORTANT — VALVE WORKSHOP LEGAL AGREEMENT
Steam requires every creator to accept the Valve Workshop Legal Agreement once before their first Workshop upload becomes publicly downloadable.
If the agreement is not accepted, the upload may receive a Workshop ID and appear to its creator, but other players may not see or download the track.
Valve agreement link:
https://steamcommunity.com/workshop/workshoplegalagreement/After accepting the agreement:
• Keep the Workshop item Public.
• Wait a short time for Steam to process it.
• Return to Motor Trial → Community.
• Press REFRESH WORKSHOP.
• If necessary, paste the Workshop URL or ID into LOAD ID.
🛠️ 9. COMMON PROBLEMS
PUBLISH IS LOCKED
• Check the English title.
• Move Start near Point 1.
• Add 1–4 checkpoints.
• Move Finish to the final point.
• Finish a new verification run.
THE TRACK DOES NOT APPEAR FOR OTHER PLAYERS
• Accept the Valve Workshop Legal Agreement.
• Confirm that Steam visibility is Public.
• Wait for the Workshop ID and Steam processing.
• Refresh Workshop or use LOAD ID.
MY TEST NO LONGER COUNTS
• Any edit can change the map version.
• Test and finish the latest version again.
I LOST MY WORK
• Check all 5 draft slots.
• Save with V before testing, leaving the editor or switching slots.
• Avoid clearing a slot unless you are certain it is the correct one.
🏁 10. FINAL TIPS
• Start with a short track and test often.
• Make jumps readable and give players enough landing space.
• Use checkpoints after difficult sections.
• Smooth only the areas that need it.
• Save before every major edit.
• Ask another player to test the public version after publishing.
Build carefully, test honestly and create something unforgettable. See you in the Community tracks! 🏍️✨