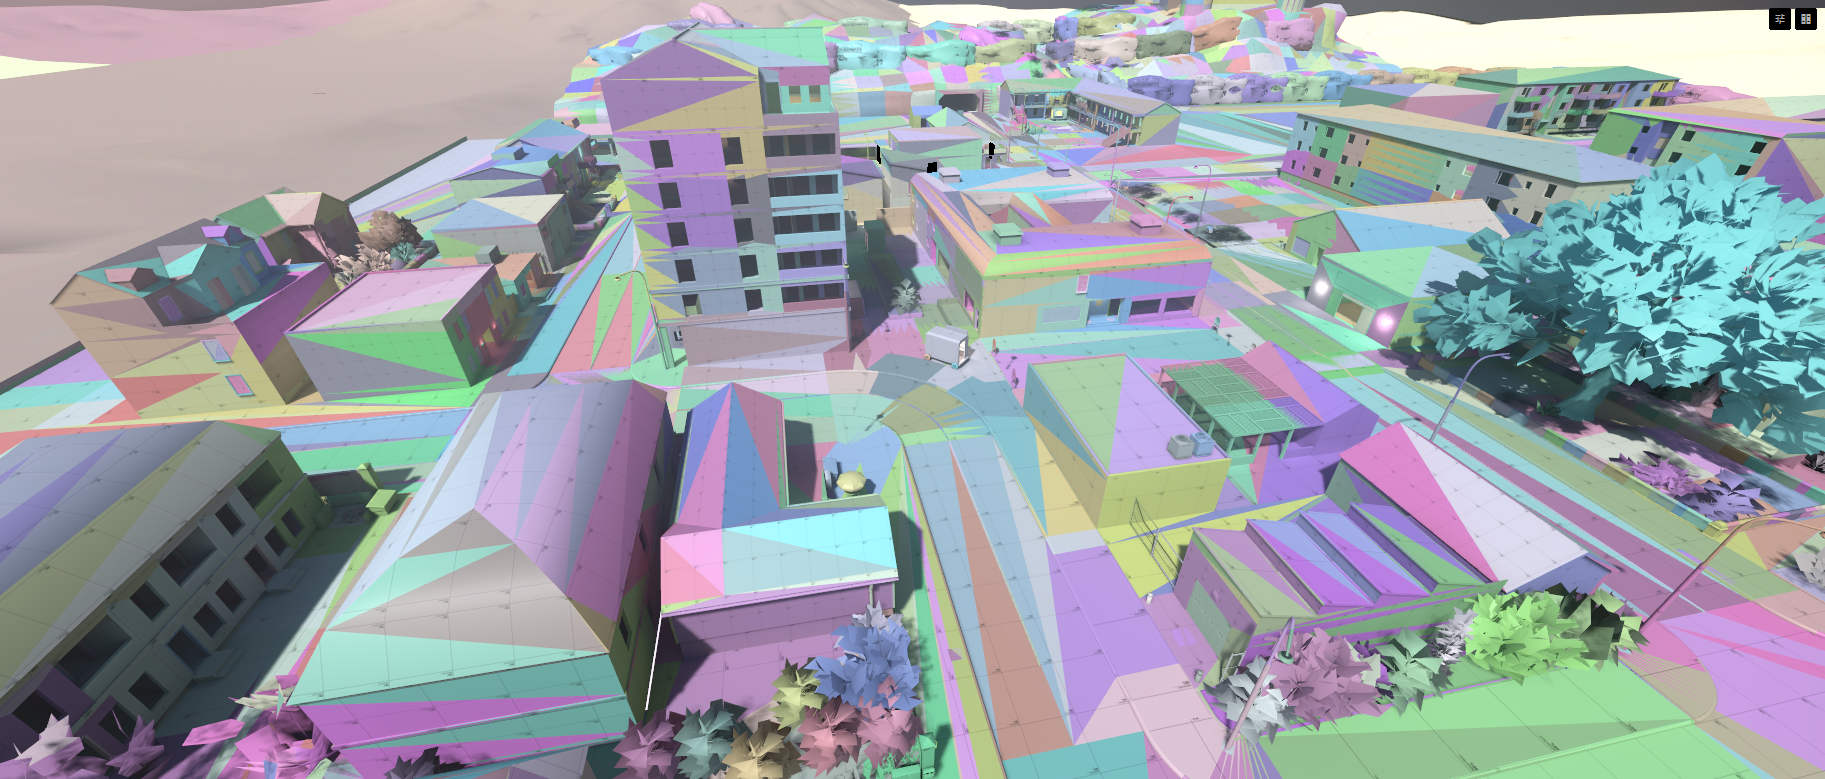
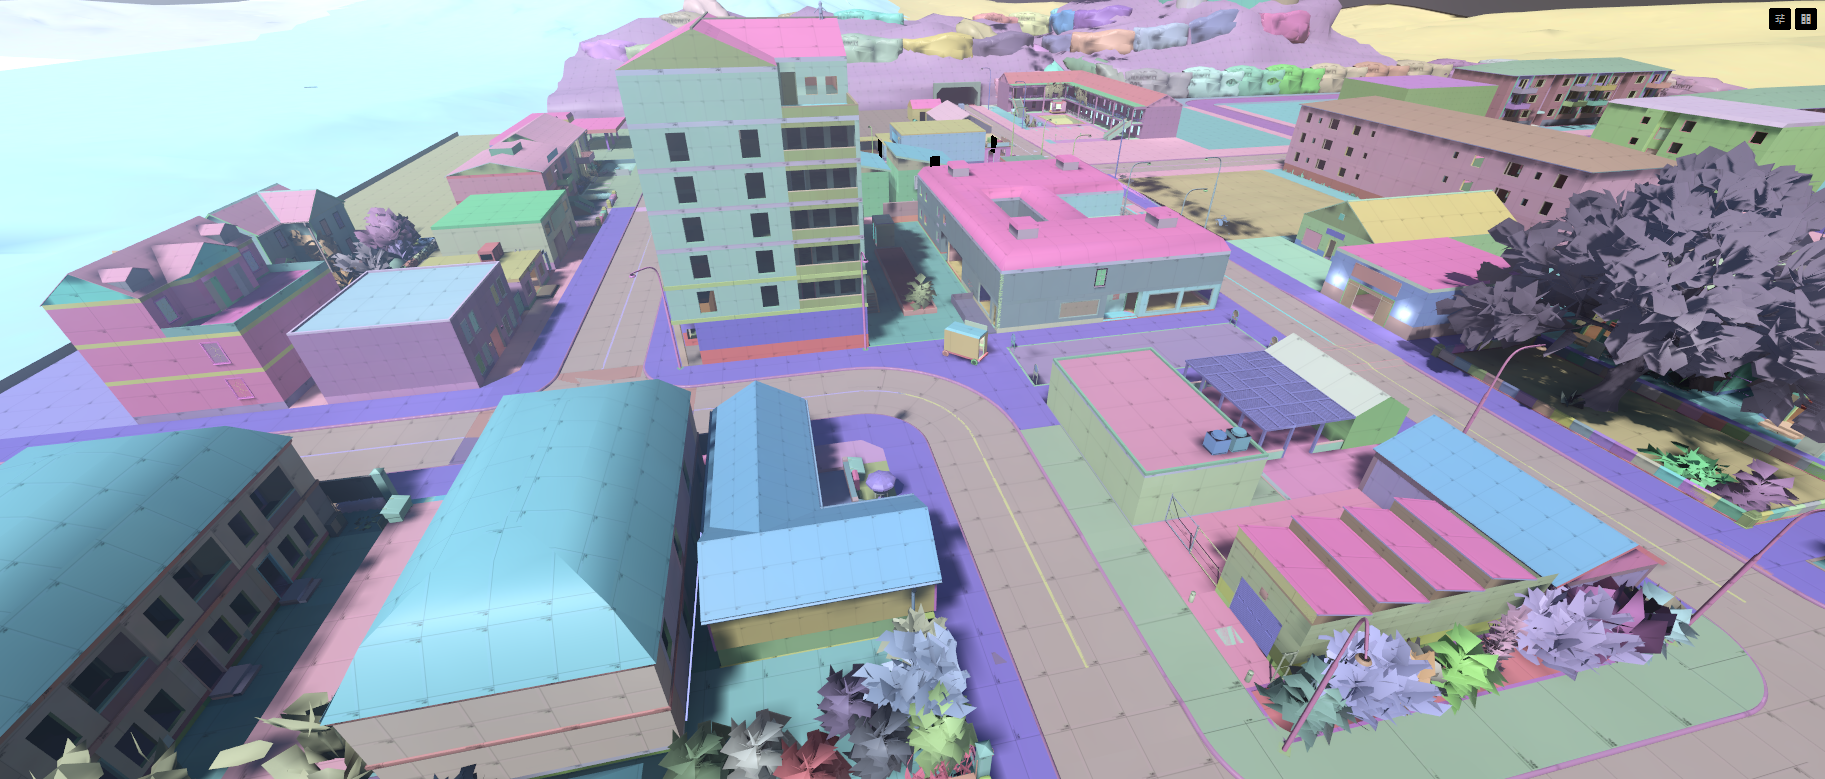
The Hammer map builder we got from HL: Alyx Workshop Tools has always broken up map meshes into excessively small render clusters, resulting in huge amounts of draw calls.
We backported a few changes from CS2 and fixed a regression we caused:
Increase render cluster volume size from 256 -> 2048
Increase render cluster max triangles from 2048 -> 16384
Backported new visibility mesh merger (uses vis to merge meshes in similar vis areas)
Restored collapsing materials behaviour
Over all this should drastically reduce draw calls in larger and more open maps, reducing CPU frame time. The map above saw over a 2x improvement in fps in the worst performing area the fps went from 46 → 96.
Your maps will need to be recompiled to see any benefit.
The physics engine is now updated to the latest Box3D.boxes.mp423.07 MBWhat does this mean for you? We're seeing improvements in most of our benchmarks, better stability for chained joints, and the ability to run more substeps.
I'll give a bit of history on the physics engines we've used because I've seen this asked many times. We started with Valve's Rubikon. We then moved to Izabu, which is basically just a cleaned-up Rubikon without Valve-specific code. We then moved to Box3D, by the creator of Box2D, which will eventually be free and open source. Rubikon and Box3D are closely related, so this isn't a major difference for users, but it's good for our ecosystem to use libraries that are open source and continually updated.
I finally started making the official Sandbox Mode! I'm being deliberately slow and considerate with it. it's my baby and I want to do it right. sbox.2025.06.20.12.23.02.mp459.45 MBThe plan is to create a foundation and then experiment on that for a while. There's a few tent poles that this brings to the game. Mounts and Addons are the biggies.. but there's a bunch of other stuff I want to try.
Before, when you tried to load a project that couldn't compile, we’d try loading it as best we could and leave you to figure out the rest. This usually meant everything was pretty broken, and it was a bit confusing if you didn't know what went wrong. Even after you'd sorted it out, you'd still need to restart the editor to get it properly usable again. 11_17-46-FancyGelding.png39.87 KB Now, we'll raise any issues at startup and let you fix them before continuing. You can jump straight to the errors in your code editor, and it reloads live as you make code changes.
Once all the issues are resolved, we carry on loading from there. No restart required. You can still choose to load it broken if you really want to.
We’ve added AgX to our built-in tonemapper implementation. It’s similar to ACES but preserves detail in low light areas like shadows, which makes it particularly good for outdoor scenes. It’s also Blender’s default tonemapper, so it should have a nice familiar appearance.image.png3.97 MBWe’ve also documented all our tonemappers in detail with some comparison screenshots, which should make it a little easier for you to choose one.
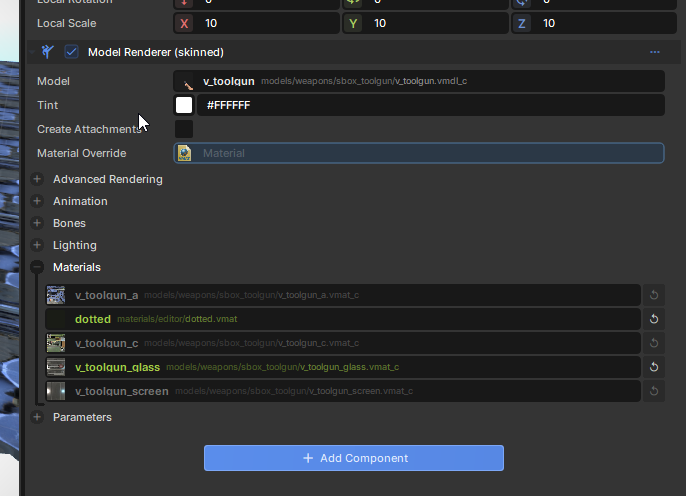
When overriding materials on a ModelRenderer, you previously had two options. You could override ALL of them, or you could write some code to override specific materials using an attribute trick.
This wasn't ideal and wasn't what anyone expected. Generally, it's expected that you could see the used materials in the inspector, and override them by index. And now that's what you can do.Rd9EK3hEw2.png57.88 KB
We've done a few under-the-hood cleanup and fixes for the auto-exposure system and backported the auto-exposure curve from CS2, previously autoexposure was too easy to feel blown out, either too dark or too bright, now it has a nicer smooth curve, it's super nice.
Loads of new features and fixes for the new decal renderer we recently added. In case you missed it this new decal renderer renders with the surface instead of on top, this lets it both inherit and modify surface properties like normals, roughness, etc. As well as render on transparent surfaces like glass – all high performance.
We've added: Color Mix which lets you have normal only or roughness only decals, Parallax Occlusion for adding height to your decals, and HDR color range allows your decals to bloom.Sbox.2025.06.25.18.52.56(1).mp421.55 MB
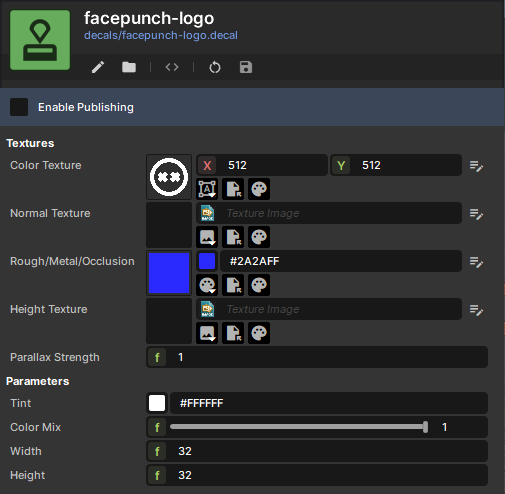
The decal system was a bit of a bastard to use. All the ingredients were there, but they hadn't been prepared. So now individual decals are defined with a DecalDefintion resource. Then they're used in the Decal component.
The Decal component can define multiple decals and one will be chosen randomly. You can also make it randomize and animate the decal properties, like scale, rotation, color etc. This built in functionality reduces the need to code it - which is what everyone previously had to do.
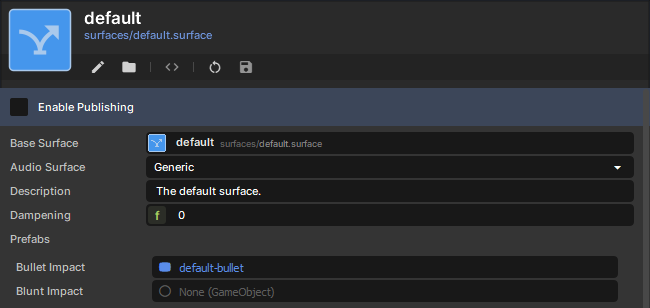
The Surface definitions were a bit of a mess. They defined sounds and decals for various impacts, but they all used strings instead of linking to the resources directly.
All that's gone in the bin. They now provide a list of sounds for the surface (Surface.SoundCollection) and some prefabs for the surface. (Surface.PrefabCollection).image.png20.06 KBOur aim is to include a baseline of this stuff with the engine, so not everyone has to remake them.. but you can if you really want to.
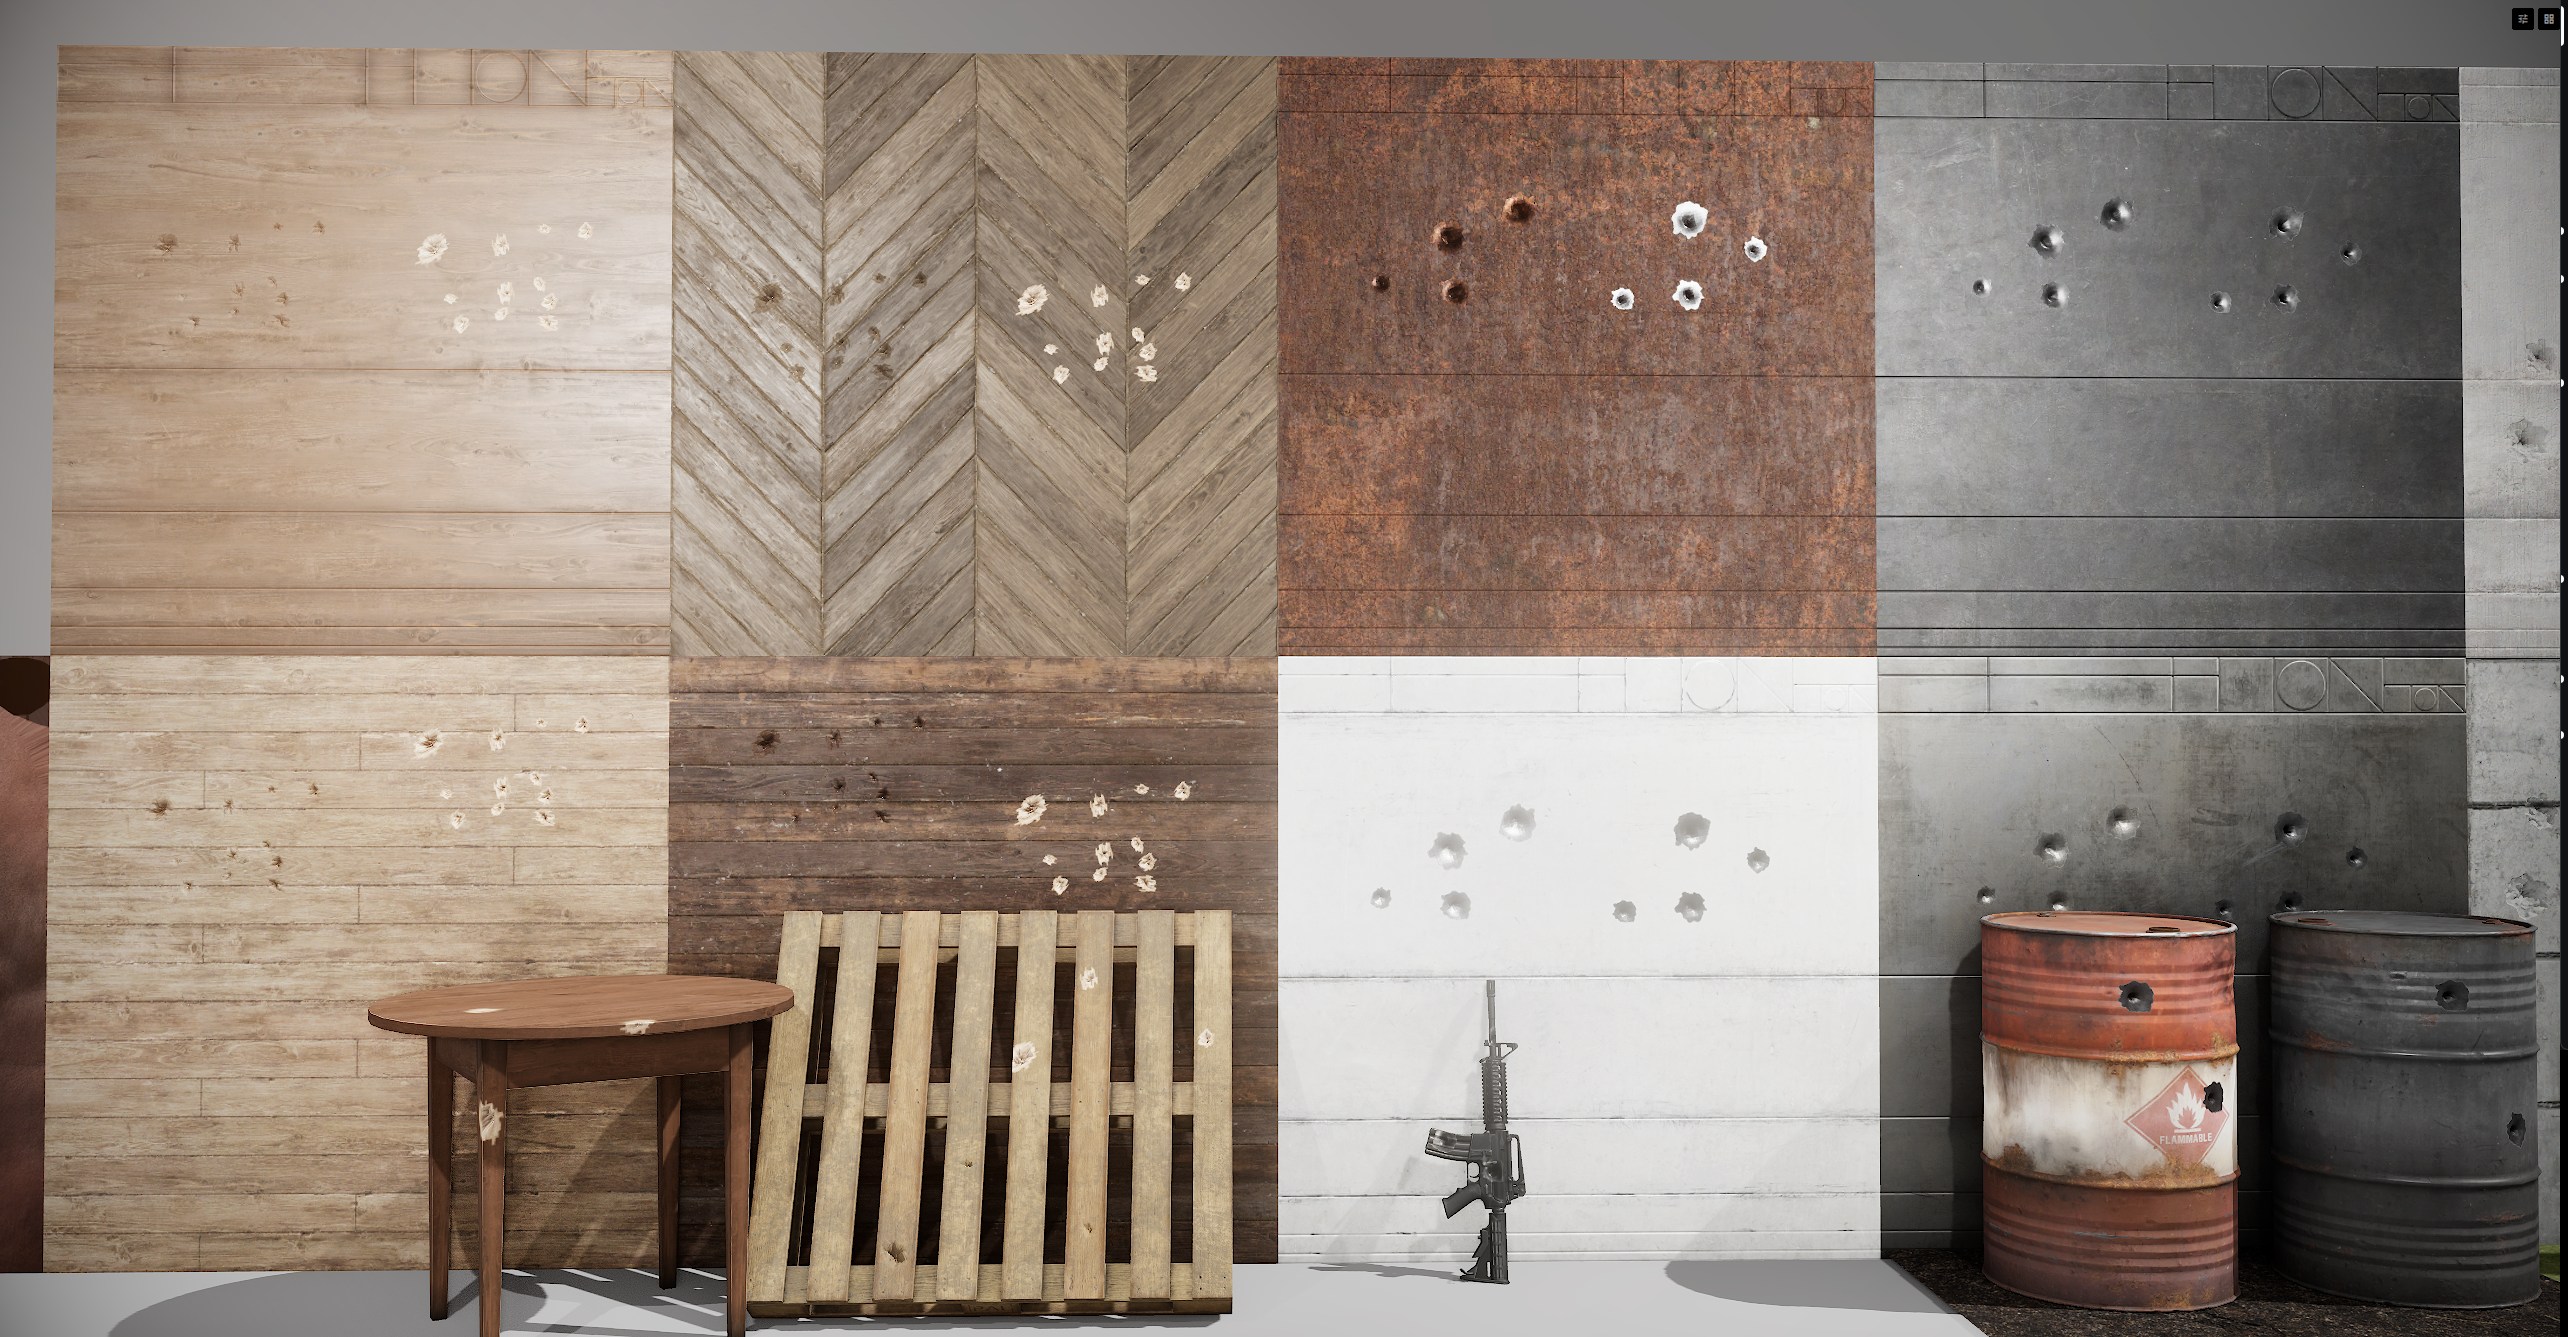
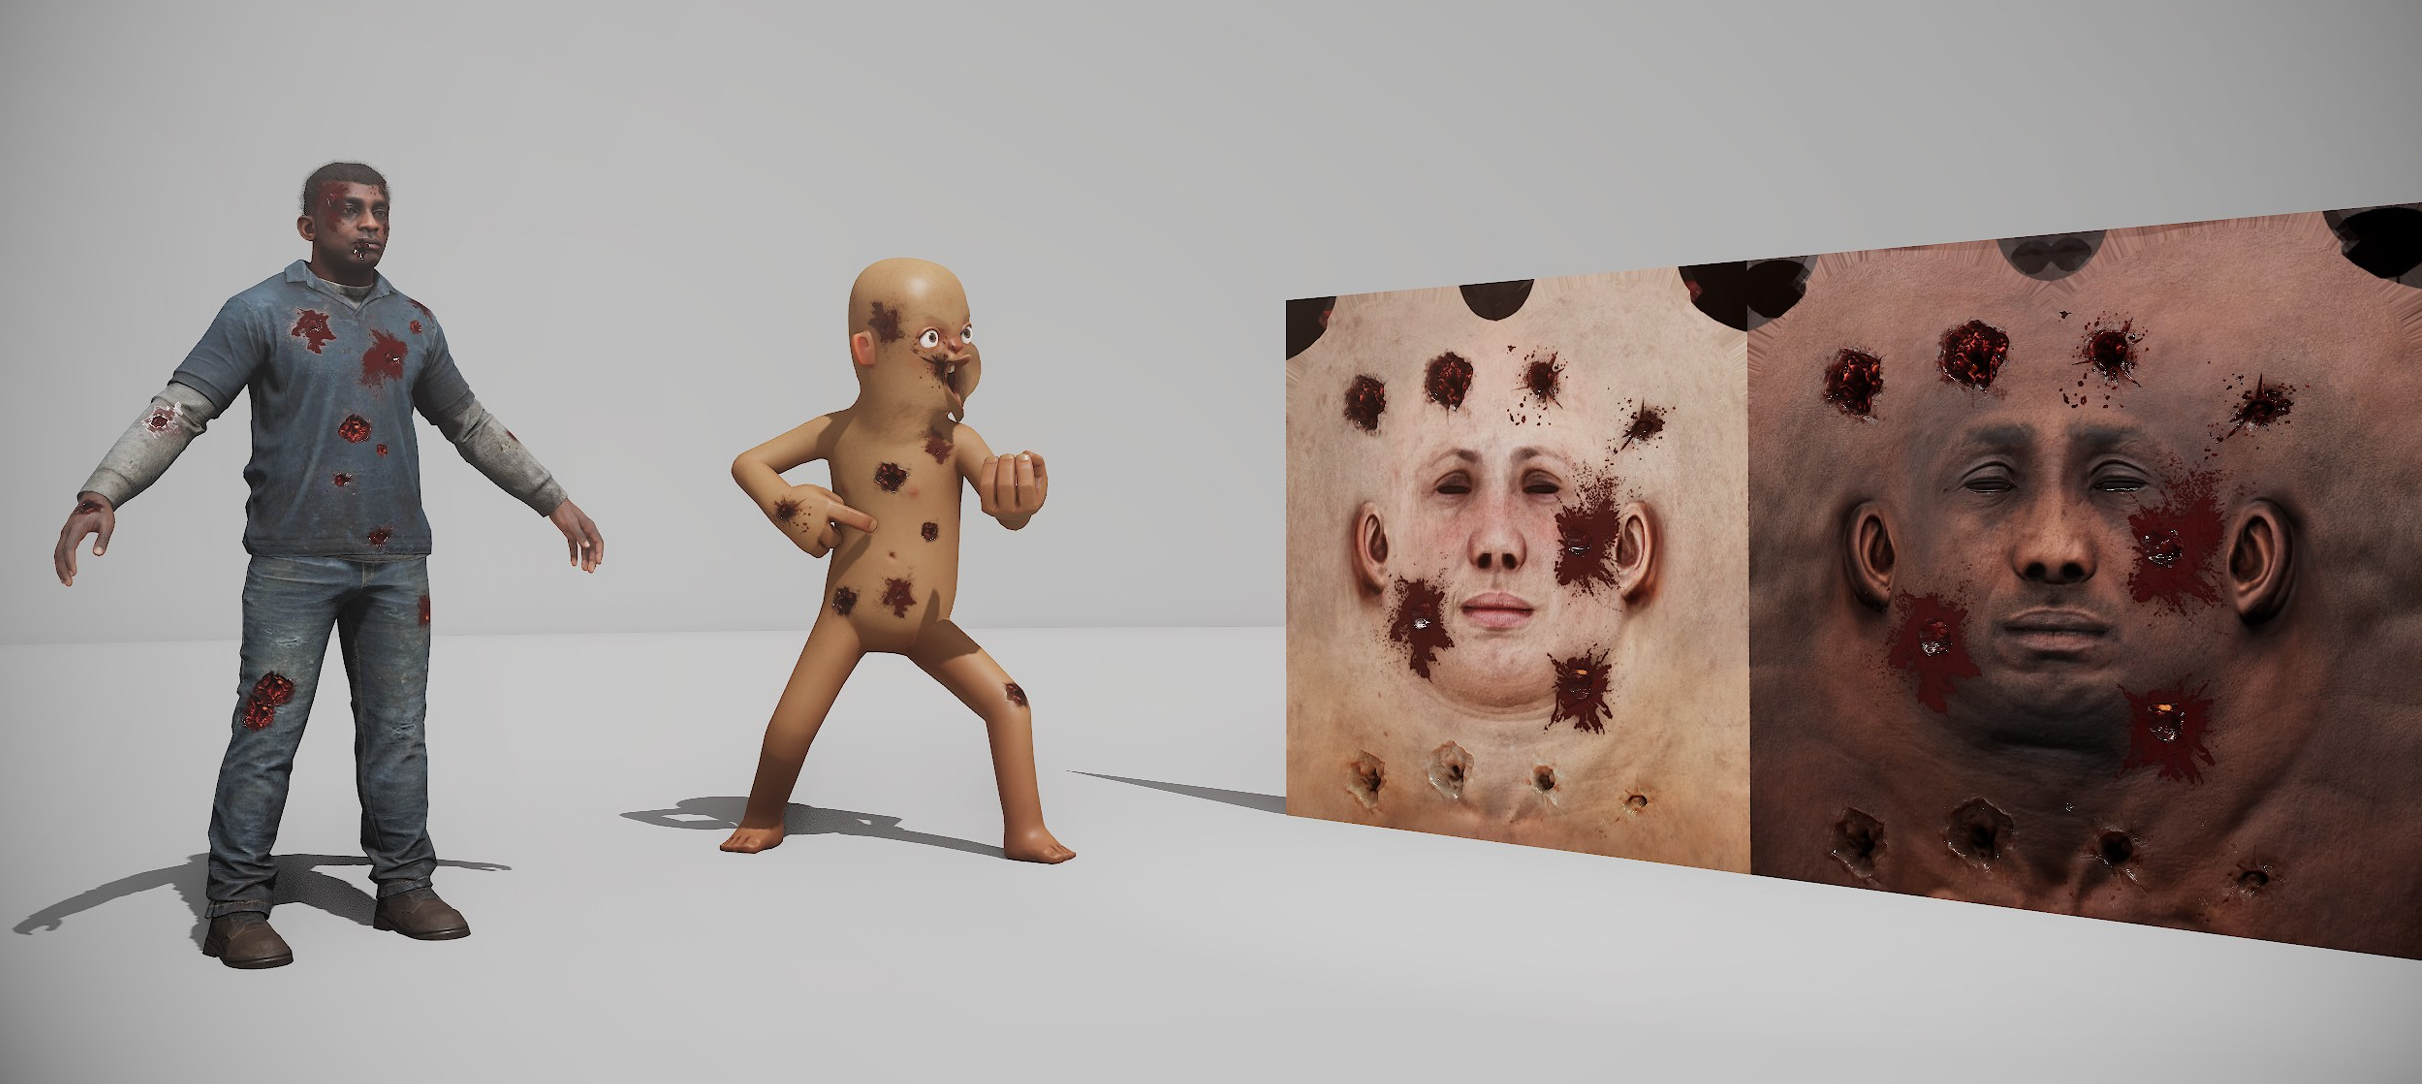
As Garry mentioned - with the new Decals and Surfaces in place, it only makes sense to rework the core library of impact decals that we offer. This pass covers concrete, metal, wood, flesh, dirt and glass.
This is a refined list that covers the most common surface types, with more coming to the Workshop in the future.
You couldn't make glass or water shaders without having to dig into shader code... but now you can do it in ShaderGraph with the "Scene Color" node. Also great for post-process effects, with options for coord wrap/mirror. 12_11-52-OccasionalCommongonolek.mp42.71 MB Here's what else is new:
Added "Is Front Face" node
Added "Normal Blend" node (with modes Default and Reoriented)
Added "Reflection" node
Added "Tangent View Vector" node
Fixed issues with backfaces not rendering when they should have in created materials
The Curve Editor is very powerful, but in it's current form it was quite limiting, with no panning or zooming, and no way to modify the x-range (and had a few quirky bugs). So this month I made it much more intuitive and friendly :) NEW vs OLD curve editor.mp433.81 MB
Curve Evaluations are much more performant, so things like particles have less of an impact on framerate
Can now Pan/Zoom around the Curve Editor with Mouse3 and Mwheel
Can drag handles outside the bounds of the curve to automatically extend it's range
Added X-Range inputs and new icons for both X and Y range inputs, with functions to disable either
Added buttons that allow you to modify the curve ranges without changing the values themselves
Holding CTRL while moving a handle will snap it's position to the current grid level
Added [TimeRange] and [ValueRange] attributes so you can set default range values (and clamp them)
Fixed any known issues with the previous Curve Editor
I've added a "grab stance" to our first-person weapons, with four different actions: three sweeps across the screen, and one "button push". This is inspired by "Left 4 Dead", which made your first-person left arm reach out towards any objects that could be picked up.sbox-dev_Po26Qntz7s.mp41.37 MBAs usual, you can find all the first-person weapons we provide to you in this workshop collection!
And their documentation can be found on this page.
We have a thing called ControlSheet in the editor. You pass it an object and it will create an "inspector", allowing you to edit its properties. This month I added a Panel version of this, so we can use it in game too. It all works pretty much the same.image.png54.27 KB
I added a new BeamEffect component. This operates a bit like a ParticleSystem, but it creates beams from one point to another. You can tweak things like beam count, scroll rate, texture size, beam size, colour, alpha, and brightness. sbox.2025.06.23.11.14.53.mp412.28 MB It also has a "travel" mode - which makes creating tracer effects simple and easy.
The particle system was improved with a bunch of community requests.
ParticleEffect.LocalSpace
This is a ParticleFloat ranging from 0 to 1. If it's 0 the particle simulates in world space, if it moves with its parent. This allows you to make effects like flames where they start off following the parent, then fade to world space.
ParticleEffect.InitialVelocity
You can directly set the initial velocity of the particles. Previously, this was only possible if the emitter provided what you wanted to do.
ParticleEffect.ConstantMovement
Move without having to think about velocity at all. Using curves allows for some really fun movement.
More progress. Everything is getting easier and more refined. Everything is coming together. Sandbox mode actually being worked on is a signal that there is a release in sight.
At the moment, I'm imagining we'll release early next year. I think by that point, we'll have enough to show people what we're trying to do and keep them engaged with it. This won't be the end, this'll be the start. After the release, we'll keep iterating every month like we are, until we're dead.


 solwllms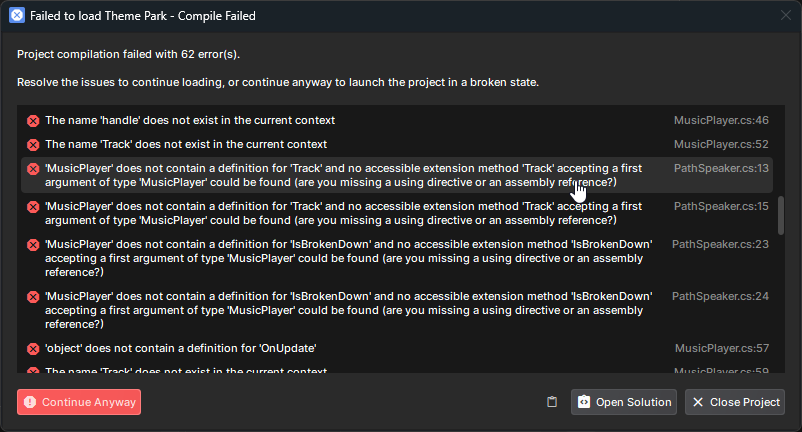
 alex
alex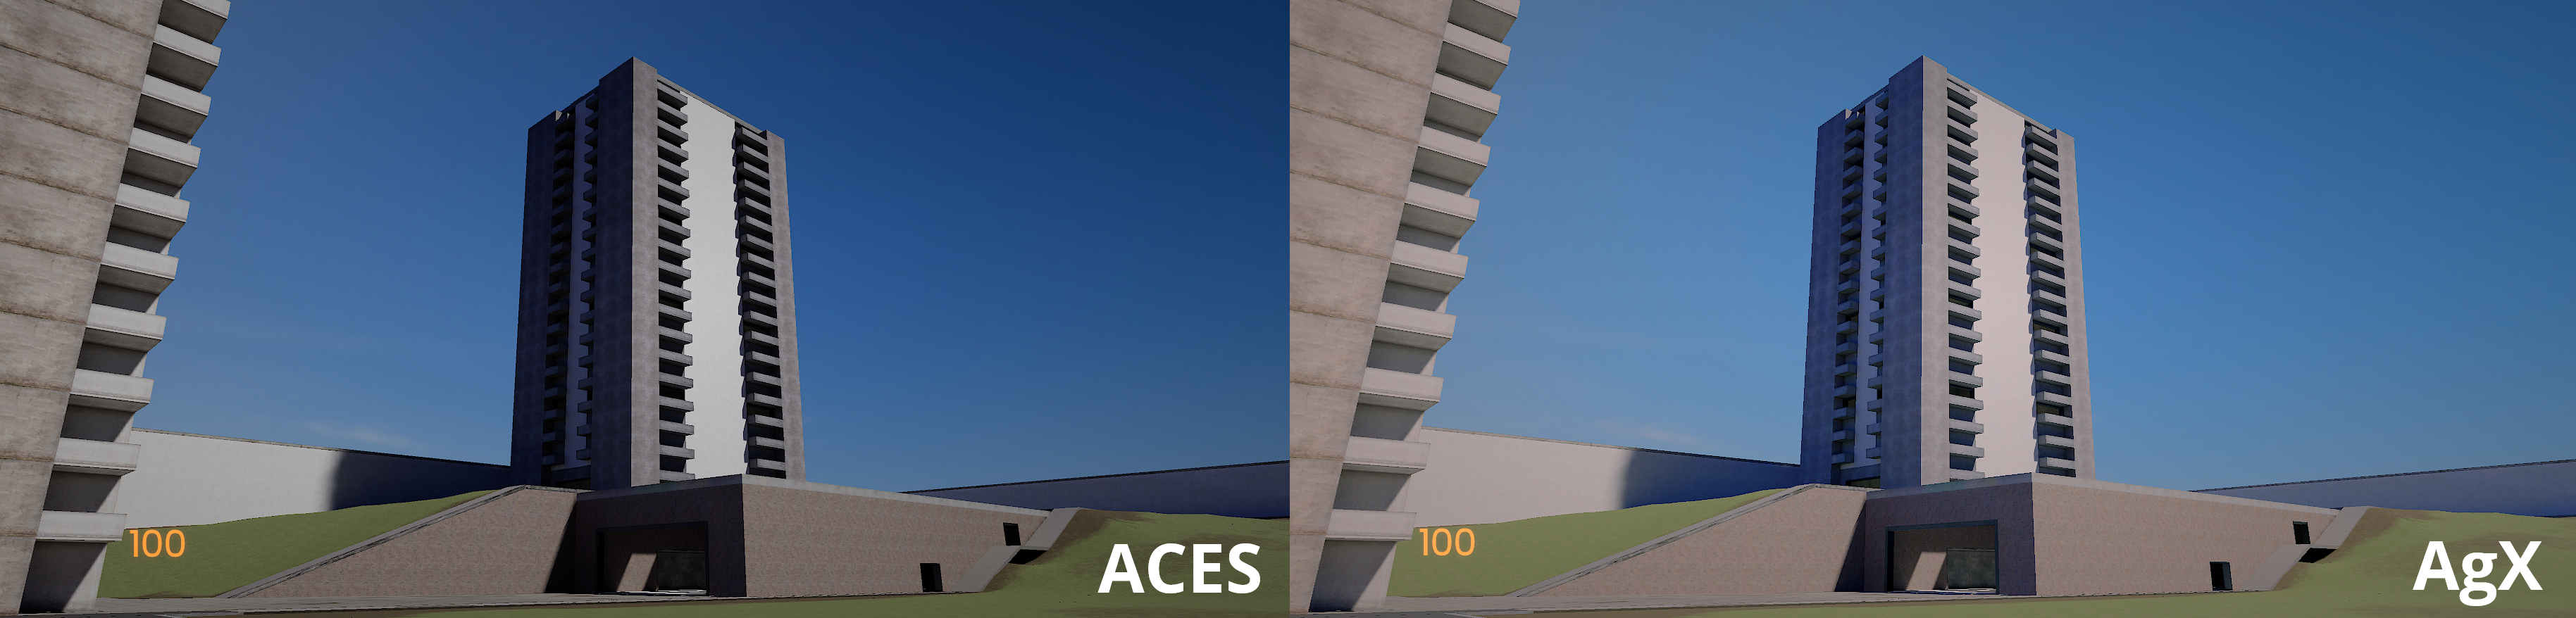
 Sam Pavlovic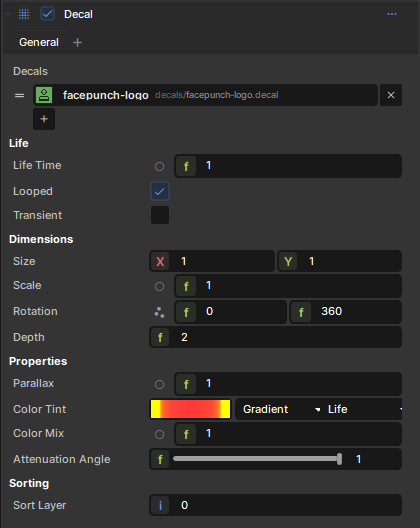
 Jase
Jase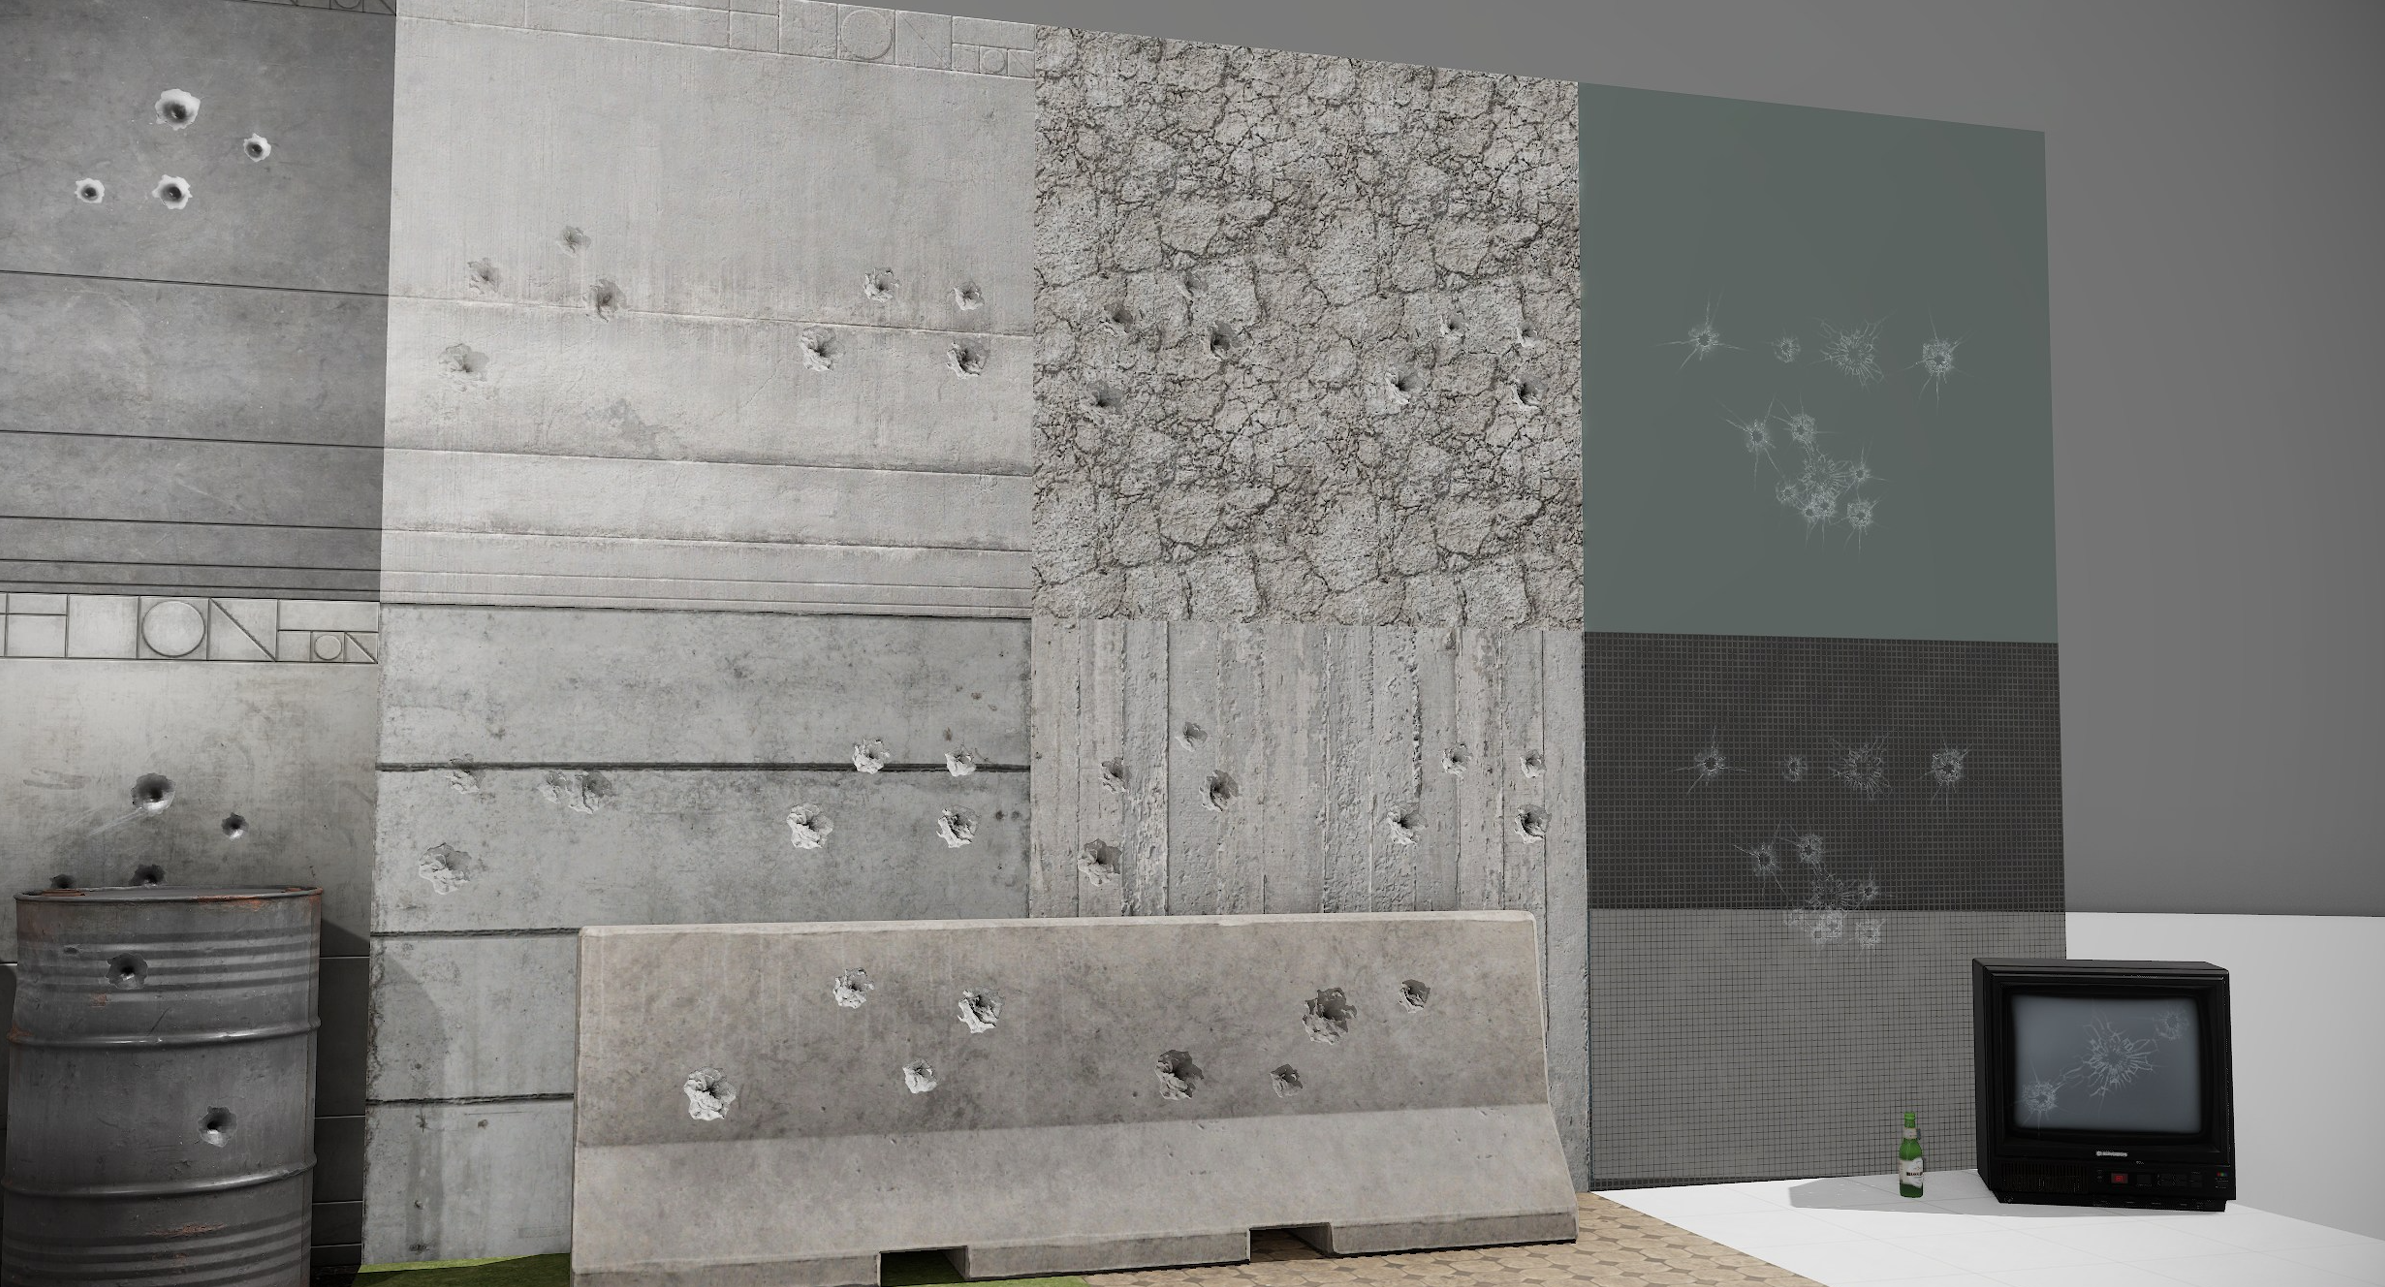
 Carson
 MaxL
MaxL